This post contains affiliate links - this means that I will earn a commission (at no additional cost to you!) if you purchase product using my links.
Today I am celebrating.
Celebrating what, you say? I’m so glad you asked.
I’m celebrating myself.
There are a few things that I’m truly good at in life. Like making a bold cup of iced coffee. And taking care of my goldendoodle’s grooming all by myself.
But the thing I’m best at?
Not finishing projects.
In fact, I could win shiny, gold medals for leaving projects unfinished if I were lucky enough for that to be a reward in life.
I’m an idea girl. A true creative. The older I get, the more evident it is that I have attention deficit issues.
I’m a starter. Not a finisher. 🤷
But not today, my friend NOT TODAY.
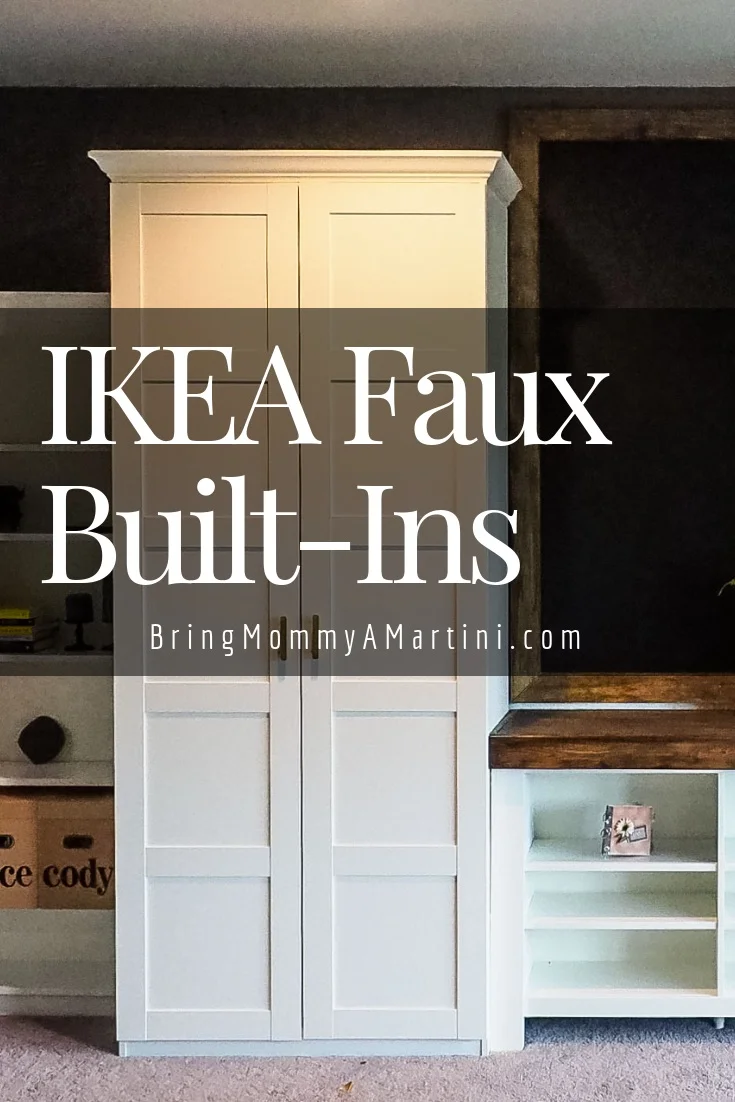
At long last, after a full year of hanging out upstairs unfinished, my IKEA faux built-ins are FINISHED and I’m sitting here staring at them, sipping my delicious coffee, singing my own damn praises because not only am I proud of finally being a finisher, I’m amazed at how gorgeous they look.
Here’s what they look like so far:
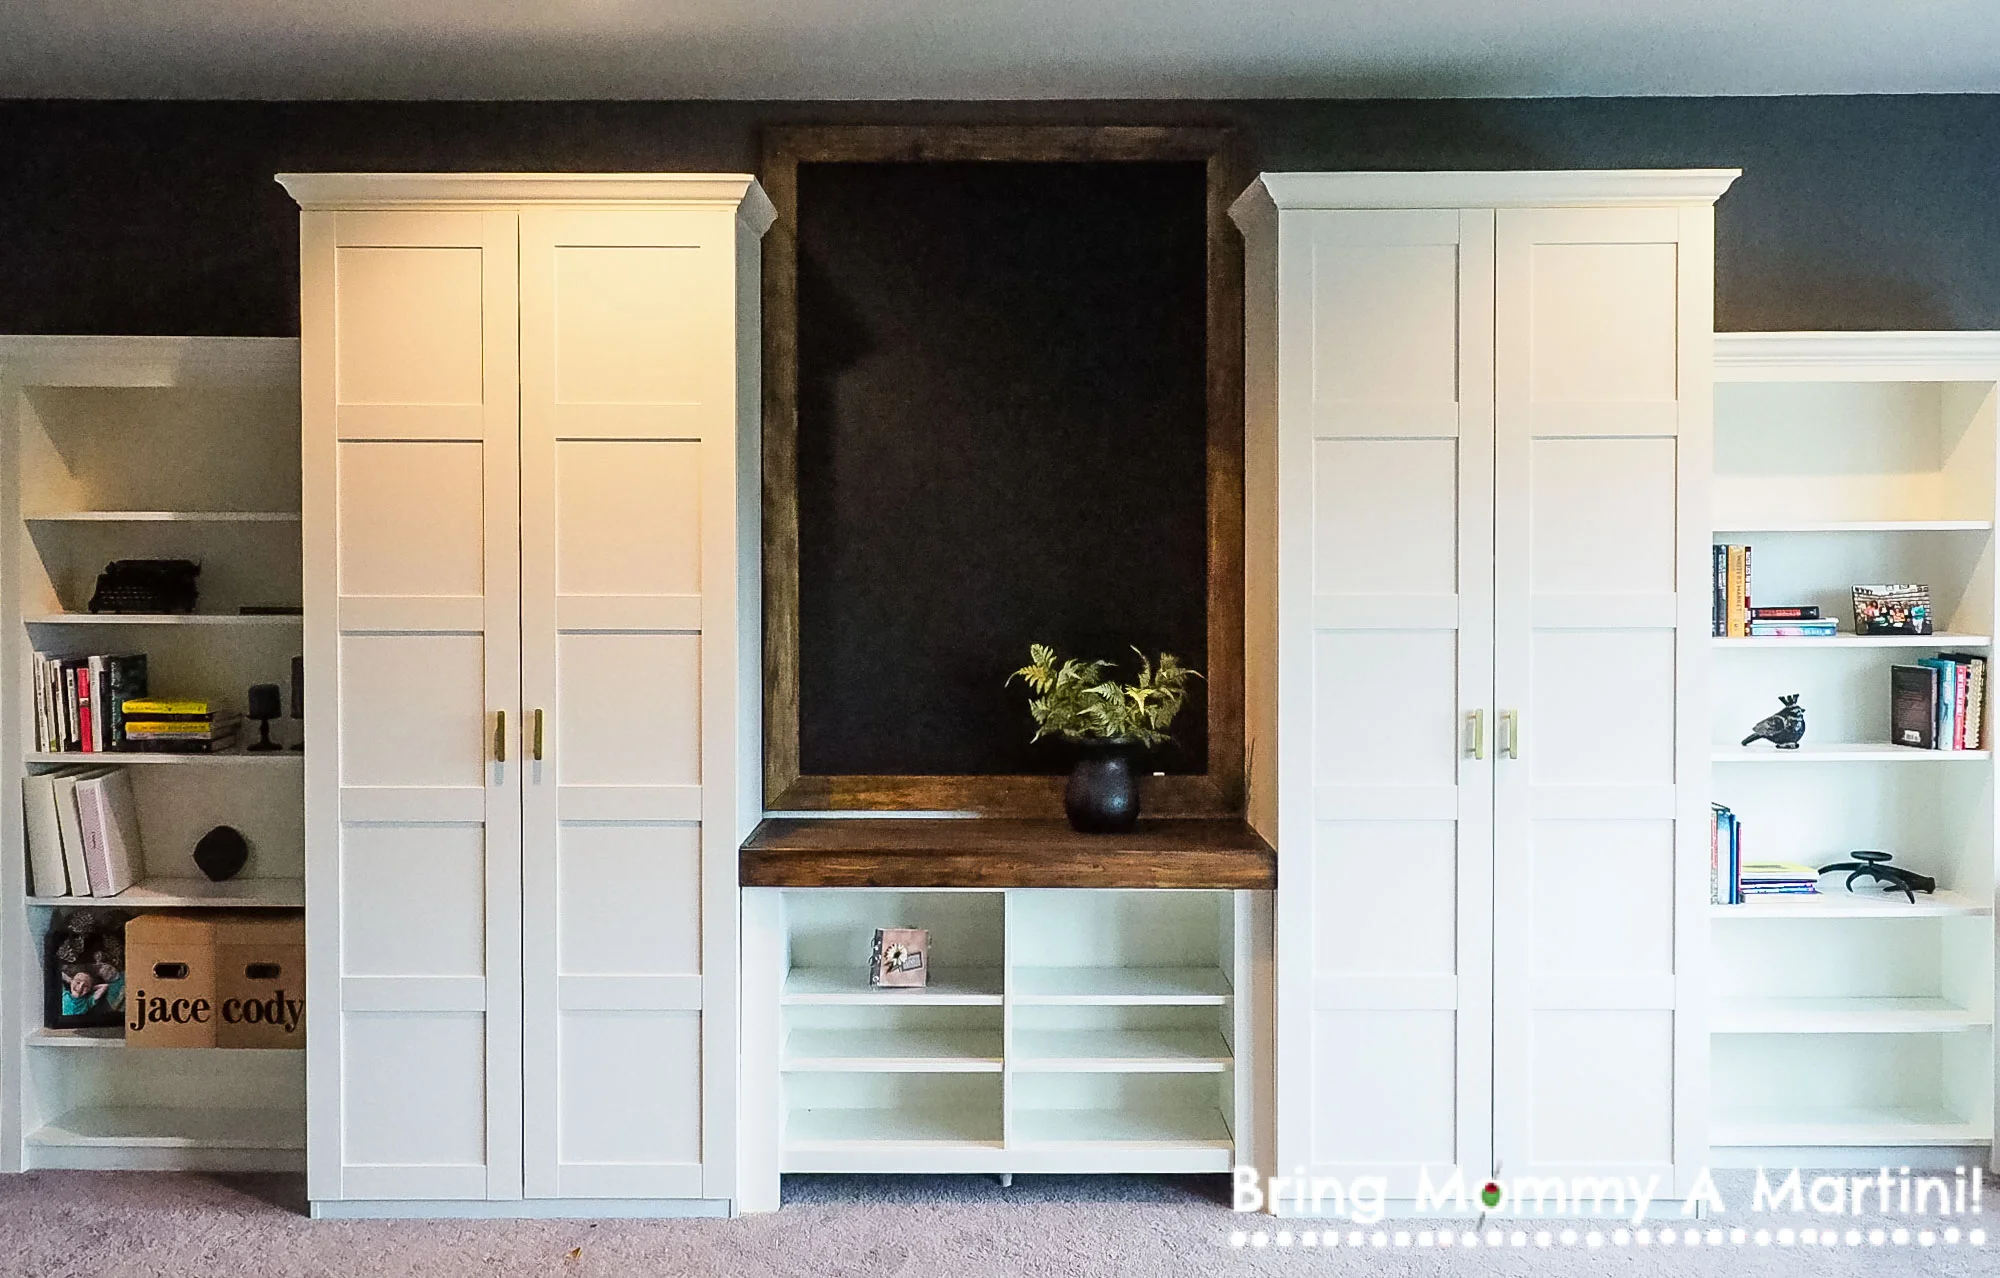
I say “so far” because I still need to finish decorating them and I need to draw something amazing on that gigantic chalkboard, which Mark and I also made. Wha??
Here’s how we did it:
First I came up with a plan by drawing it in my favorite notebook.
Birdseye plan of the entire room
“Zoomed-in” view of each element planned for each space in the room
After several do-over renderings, this is the final plan for the piece “B” in the first drawing
As you can see, the final didn’t turn out exactly like my “final” plan because I decided to do a chalkboard in the middle instead of shelving because I was afraid shelves would be too busy.
Next, I took the measurements of the wall and then did some online shopping with IKEA, taking the measurements of each piece into account. I wanted to have an inch or two in between each piece, which I would then cover with trim pieces.
Here are the pieces we bought at IKEA:
- Billy bookshelves - these are the bookcases on the outsides of the unit
- PAX wardrobes - these are the tall closed-door units
- Bergsbo doors - for the fronts of the Pax wardrobes
- Brusali TV unit - the short shelving unit in the center, underneath the chalkboard
Then we built all the IKEA pieces, and pushed them up against the wall with a few inches in between. We tried to get the distance between each piece equal as much as possible, but you know I’m not just real precise.
Next we built the giant chalkboard and installed it so that its edges would be behind the crown moulding we planned to attach to the tops of the IKEA pieces.
Then we measured and cut all the trim and crown pieces, then primed them all.
Note: for the crown moulding, measure across the top of the Billy bookcase, and include the padding space left in between the PAX. Yah… we didn’t do that, we just cut the moulding the same length as the Billy’s width, so once we put it together, the mouldings were too short.
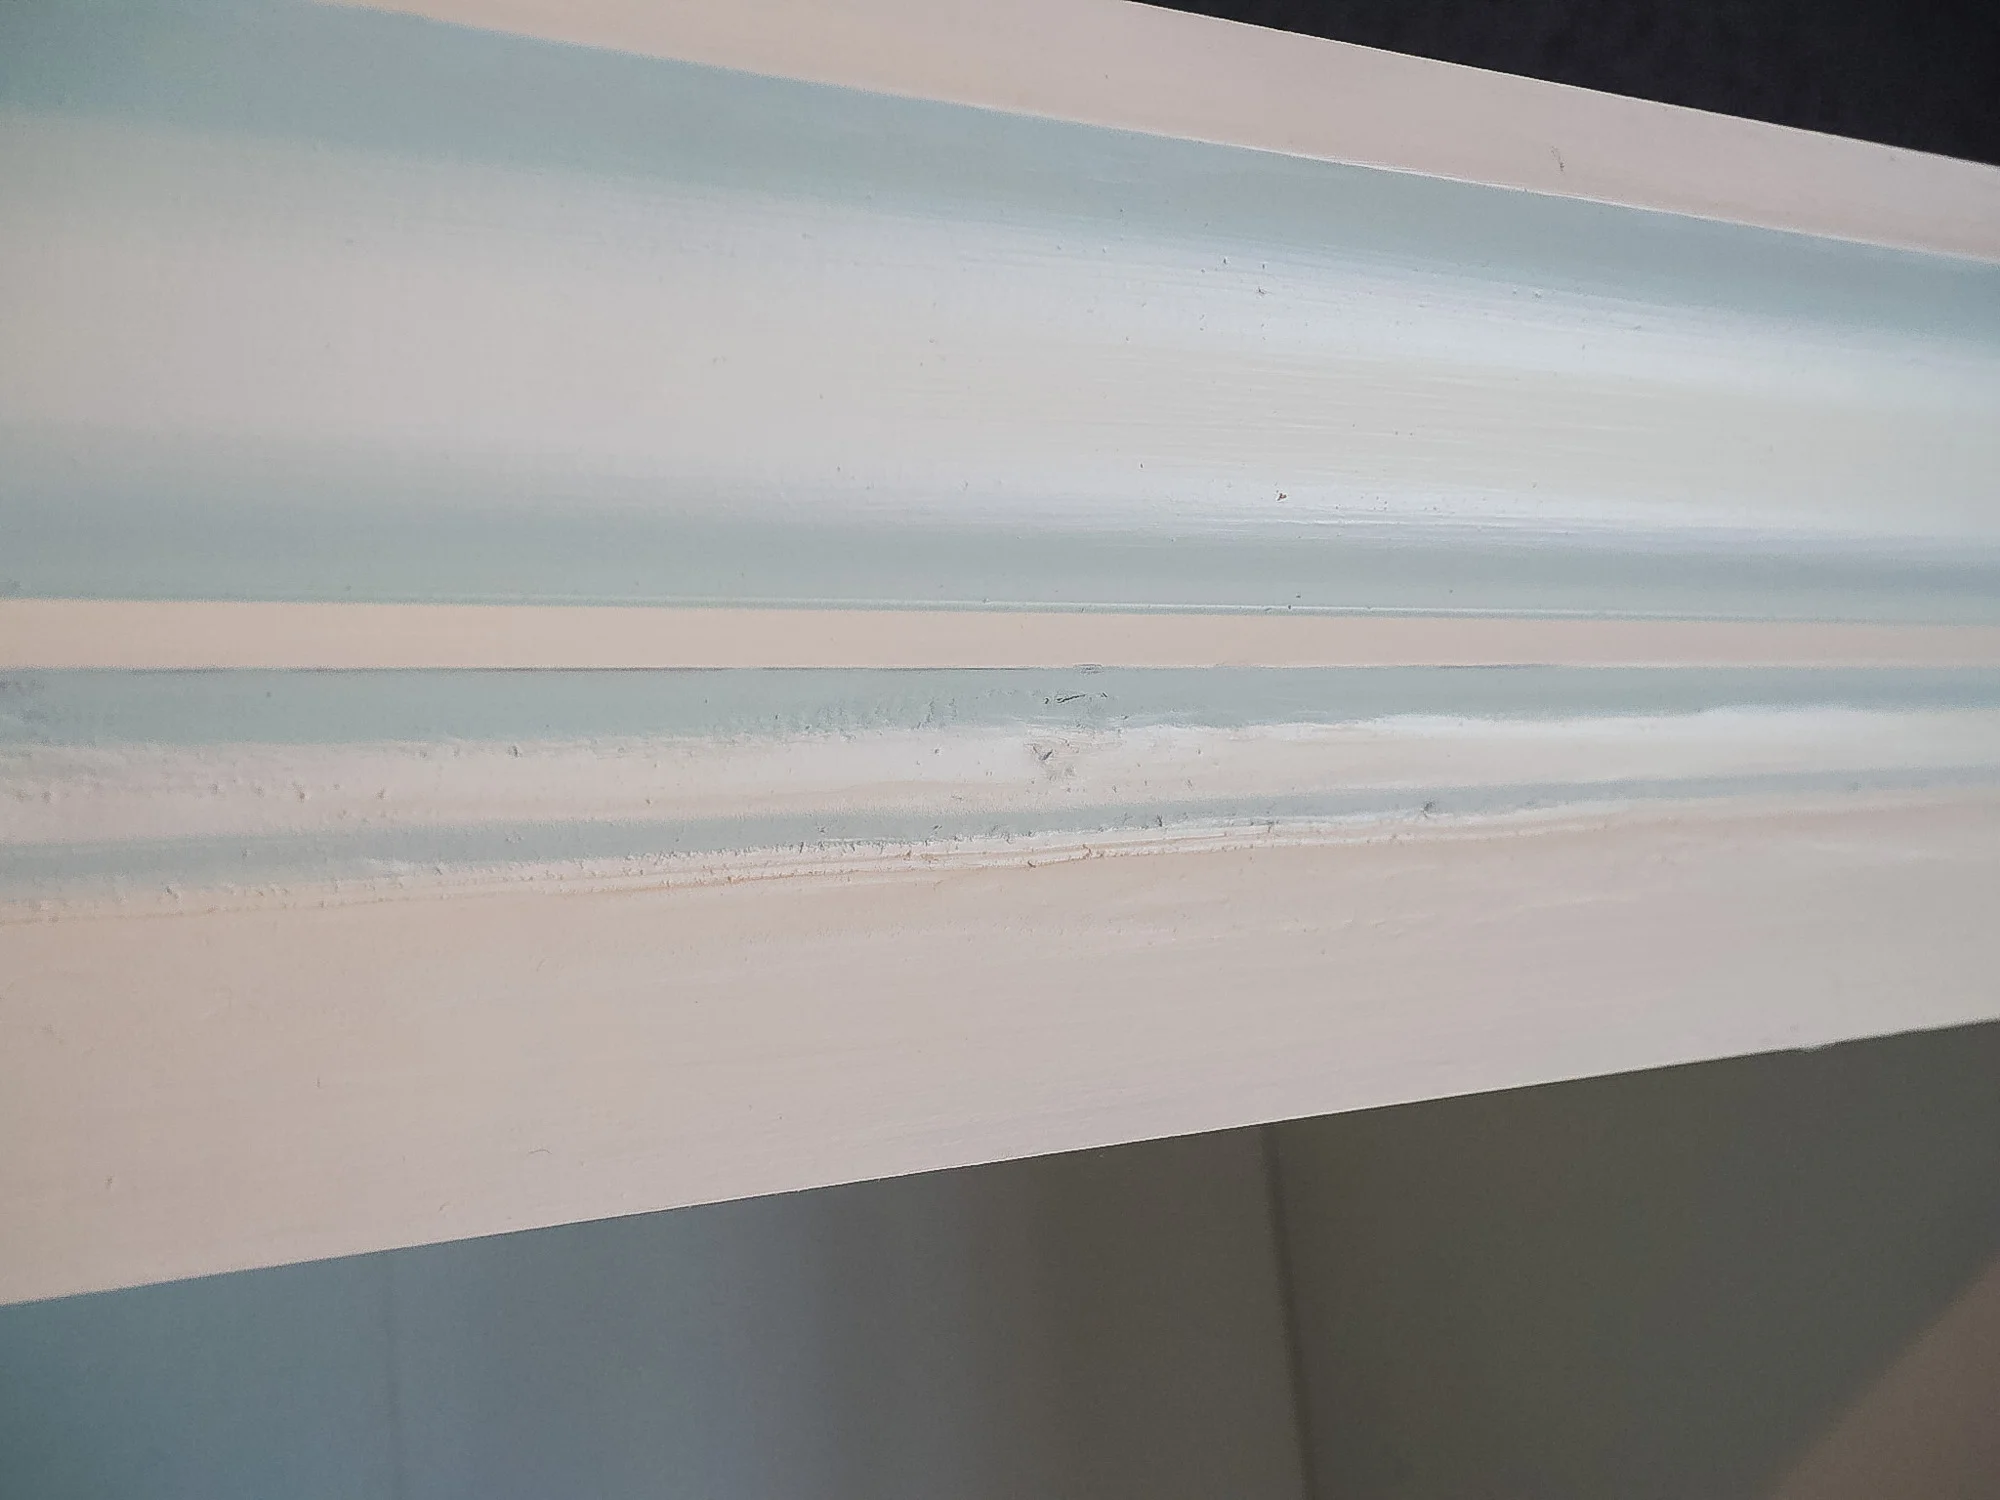
Because we didn’t have enough moulding on-hand to re-cut all the pieces at the correct longer length, I cut short pieces to fill in the gap like this:
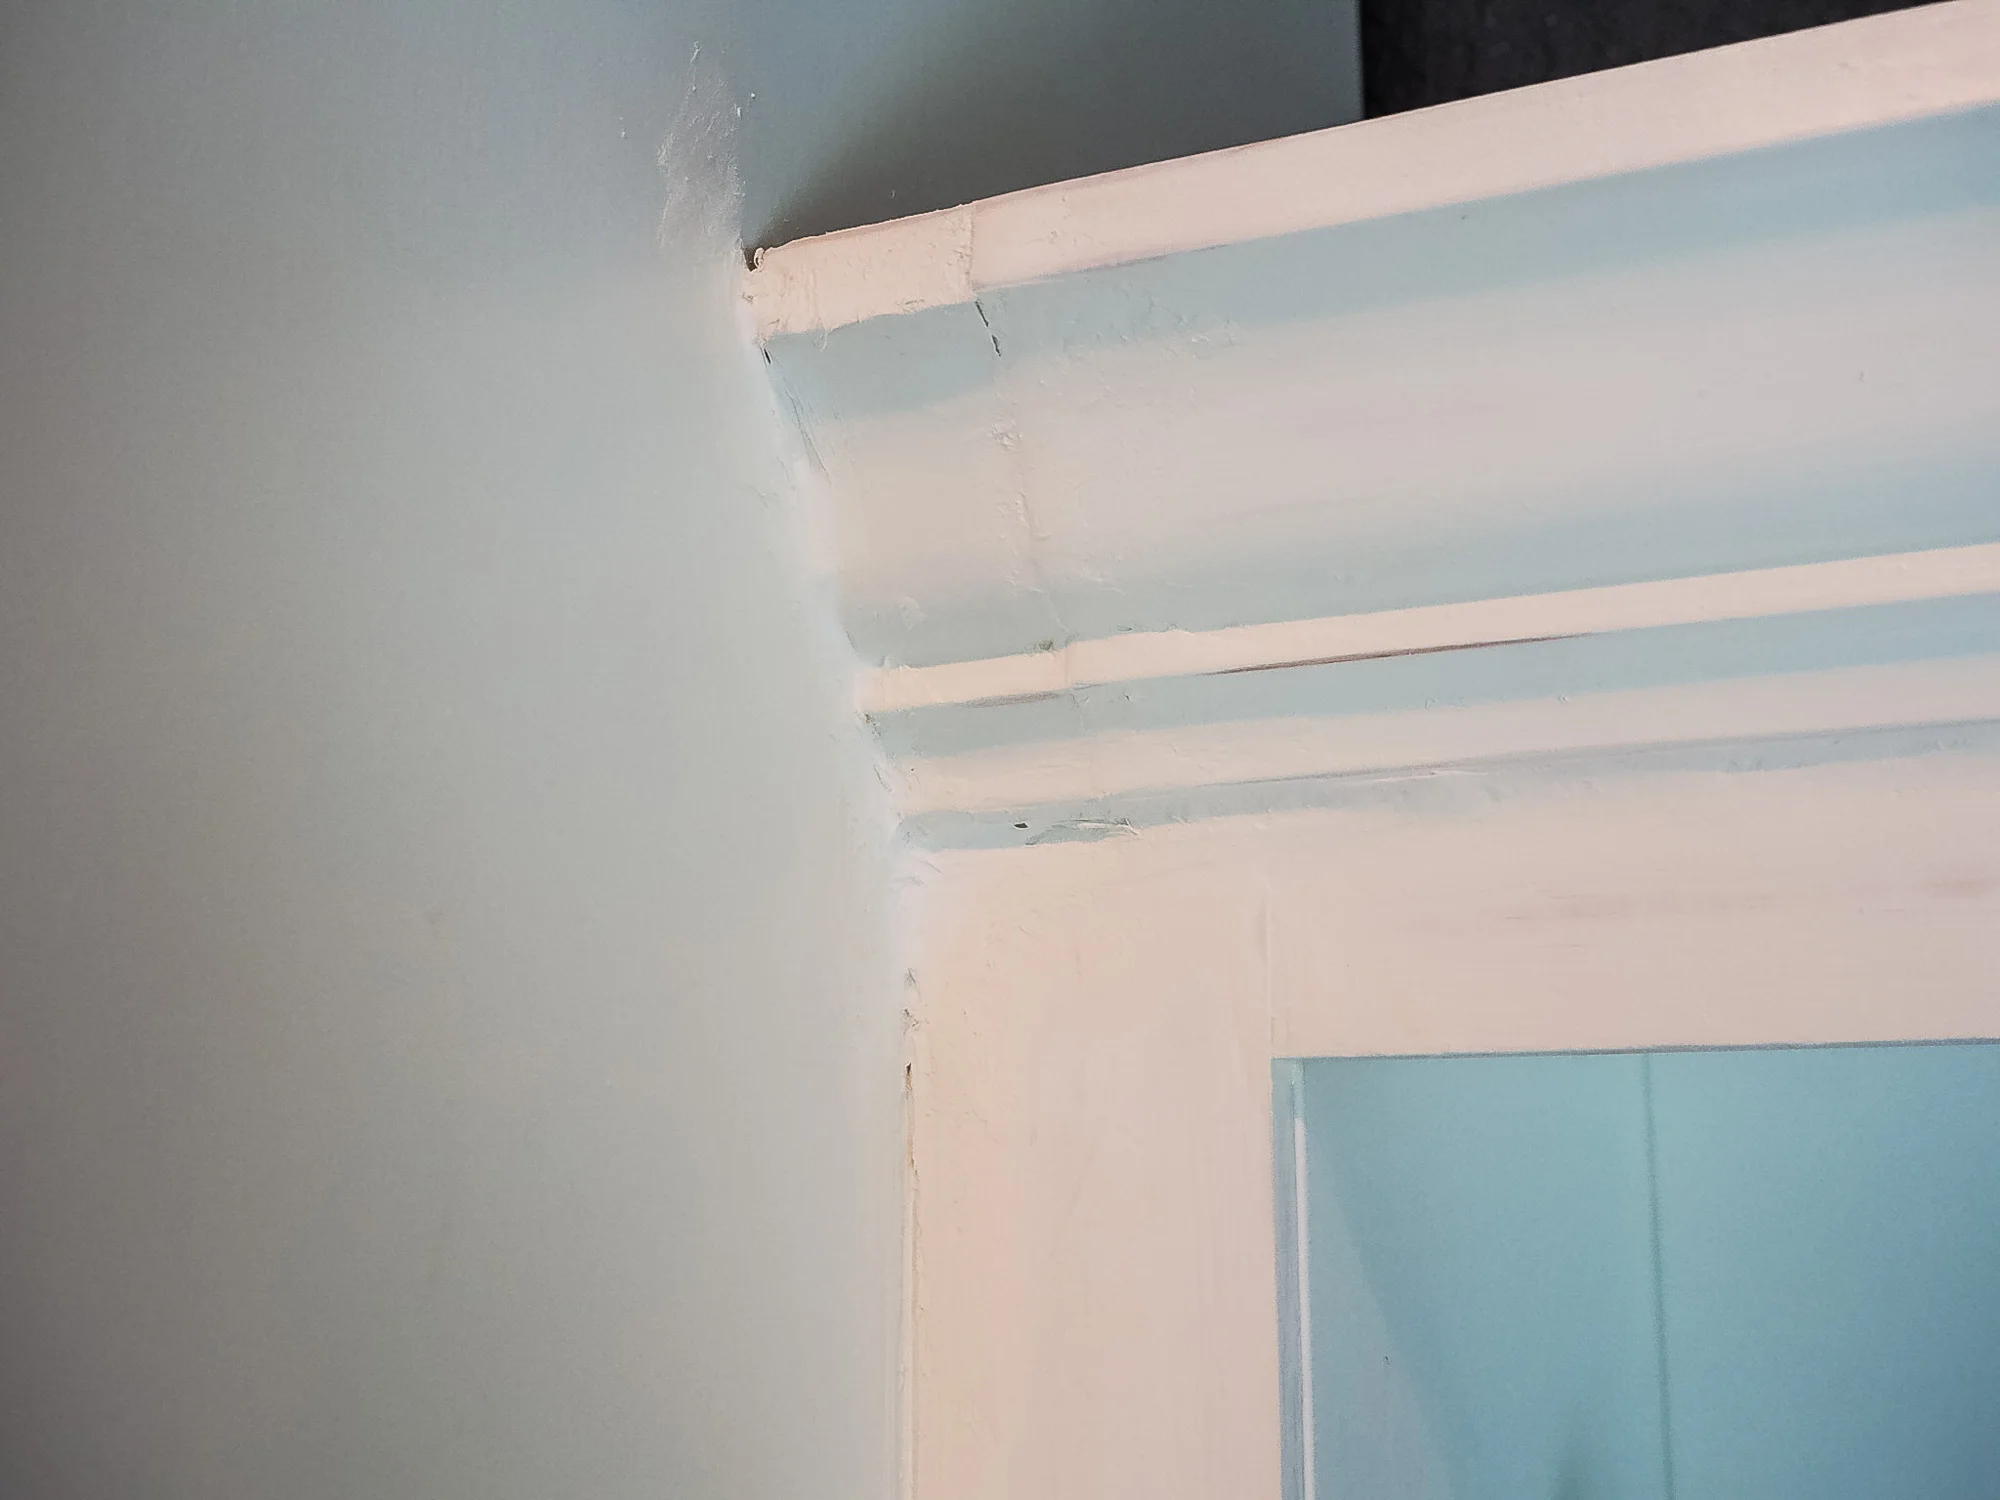
I’m fully aware this looks terrible. I don’t recommend you do yours this way. That’s why I’m telling you to measure correctly to begin with. Learn from my mistakes! (Dear Lord, I hope my dad isn’t reading this. He’s a wood craftsman by nature and has built me many gorgeous pieces of furniture in my lifetime. If he’s seeing this, he’s currently in cardiac arrest.)
Time to attach the moulding.
So that the doors would open on the PAX, we couldn’t affix the crown moulding without the use of some sort of anchor, so we nailed them into scrap pieces of 2x4”s, then affixed the 2x4”s to the top of the PAX units, scooting the edge of the moulding as close to the edge as possible so it looked like it was attached to the edge of the PAX.
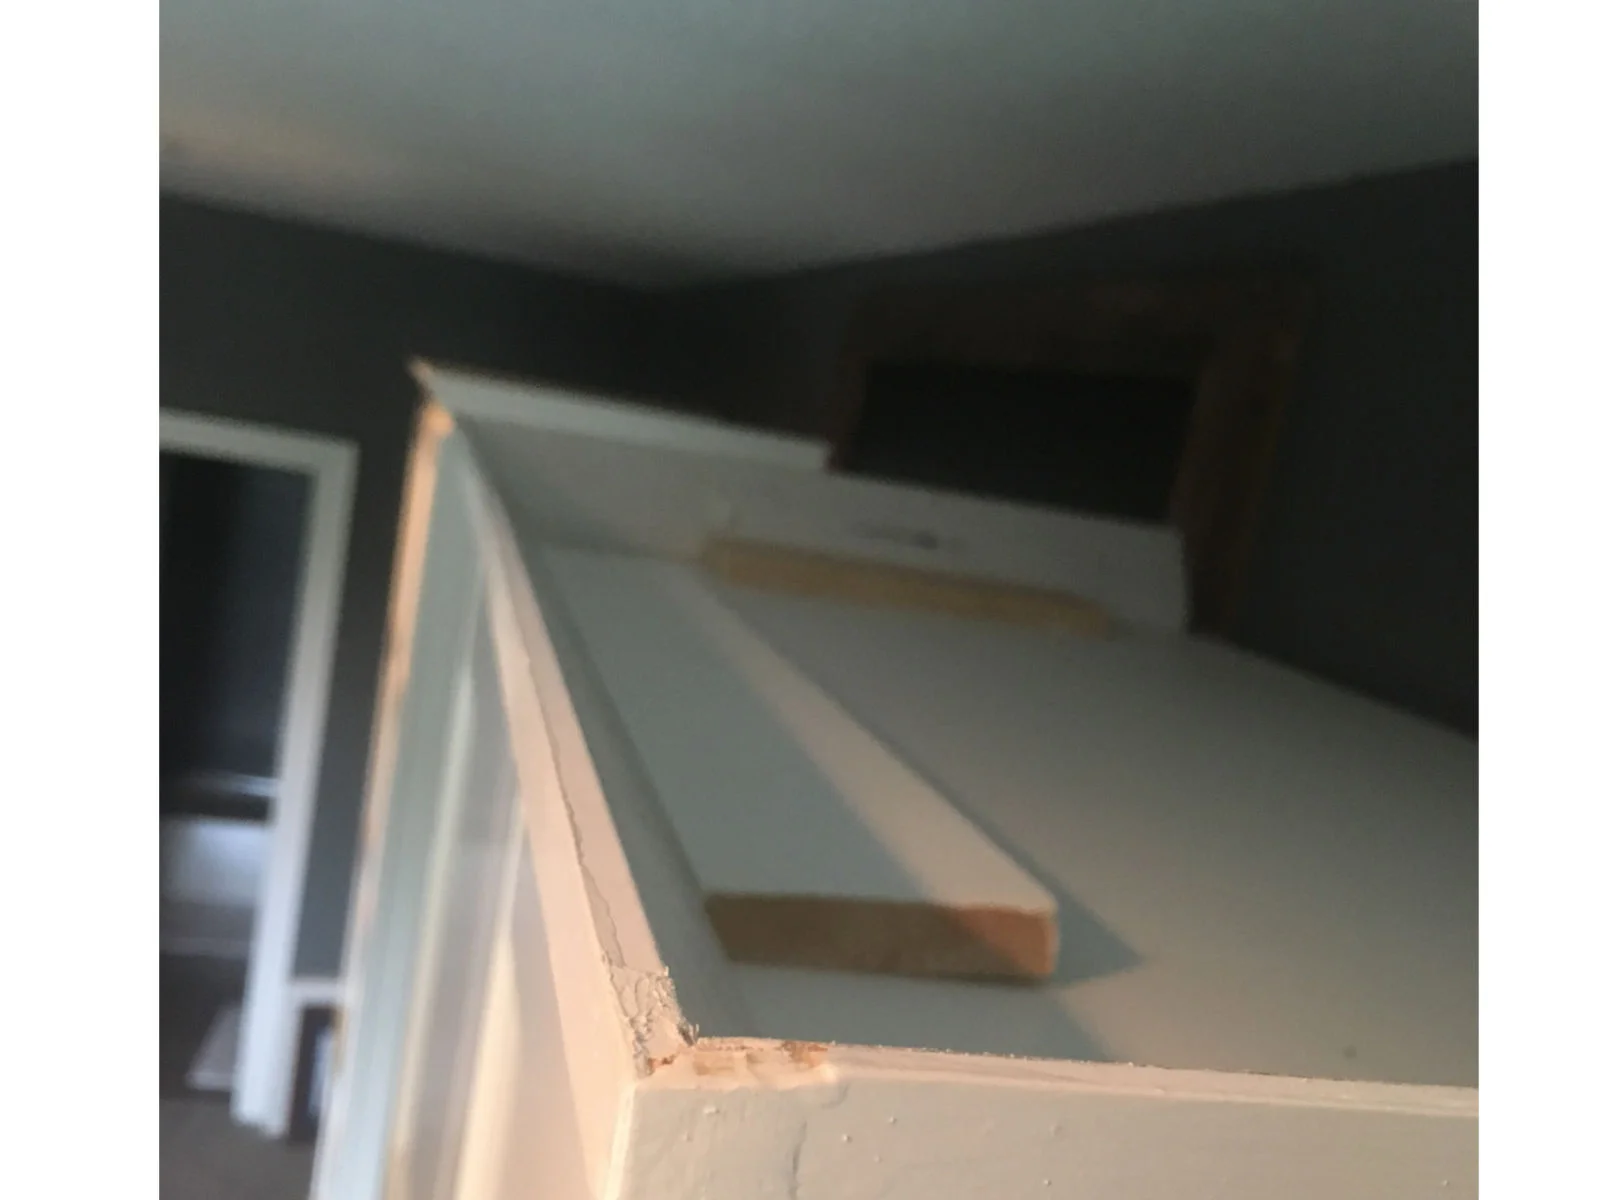
There was a gap in between the edge of the crown moulding, but I was able to fill it in with caulk during the finish-out.
I used Flex Glue to attach the 2x4”s with the crown moulding to the tops of the PAX units and the Billy bookcases, and to stick the trim pieces on the fronts of everything, covering those inch-or-two gaps between pieces.
Important notes for this step:
•If you use something different, make sure it’s flexible so that if your house shifts, it won’t break the seal, but that it’s also paintable.
•Wear gloves
•Be as neat as you can during the application of this stuff because once it cures, it’s almost impossible to smooth out. I wish I'd listened to my inner voice warning myself about this when I had music blaring and I was shooting this stuff out of the caulk gun like I was Annie Oakley with a bone to pick.
After everything was attached, I left everything alone for a few days to completely cure.
Then I tried sanding the dried Flex Glue to no avail. That stuff is intense.
You can see here how messy I was, and how it looks like a one-armed kindergartner put this together:
I went back to Lowe’s and grabbed this little hand-held sander from Black & Decker, called The Mouse. It has a little finger attachment so I could sand in all those grooves of the crown moulding.

Then I filled in all the holes to give a higher-end, finished look (I just used 3M Patch Plus Primer).
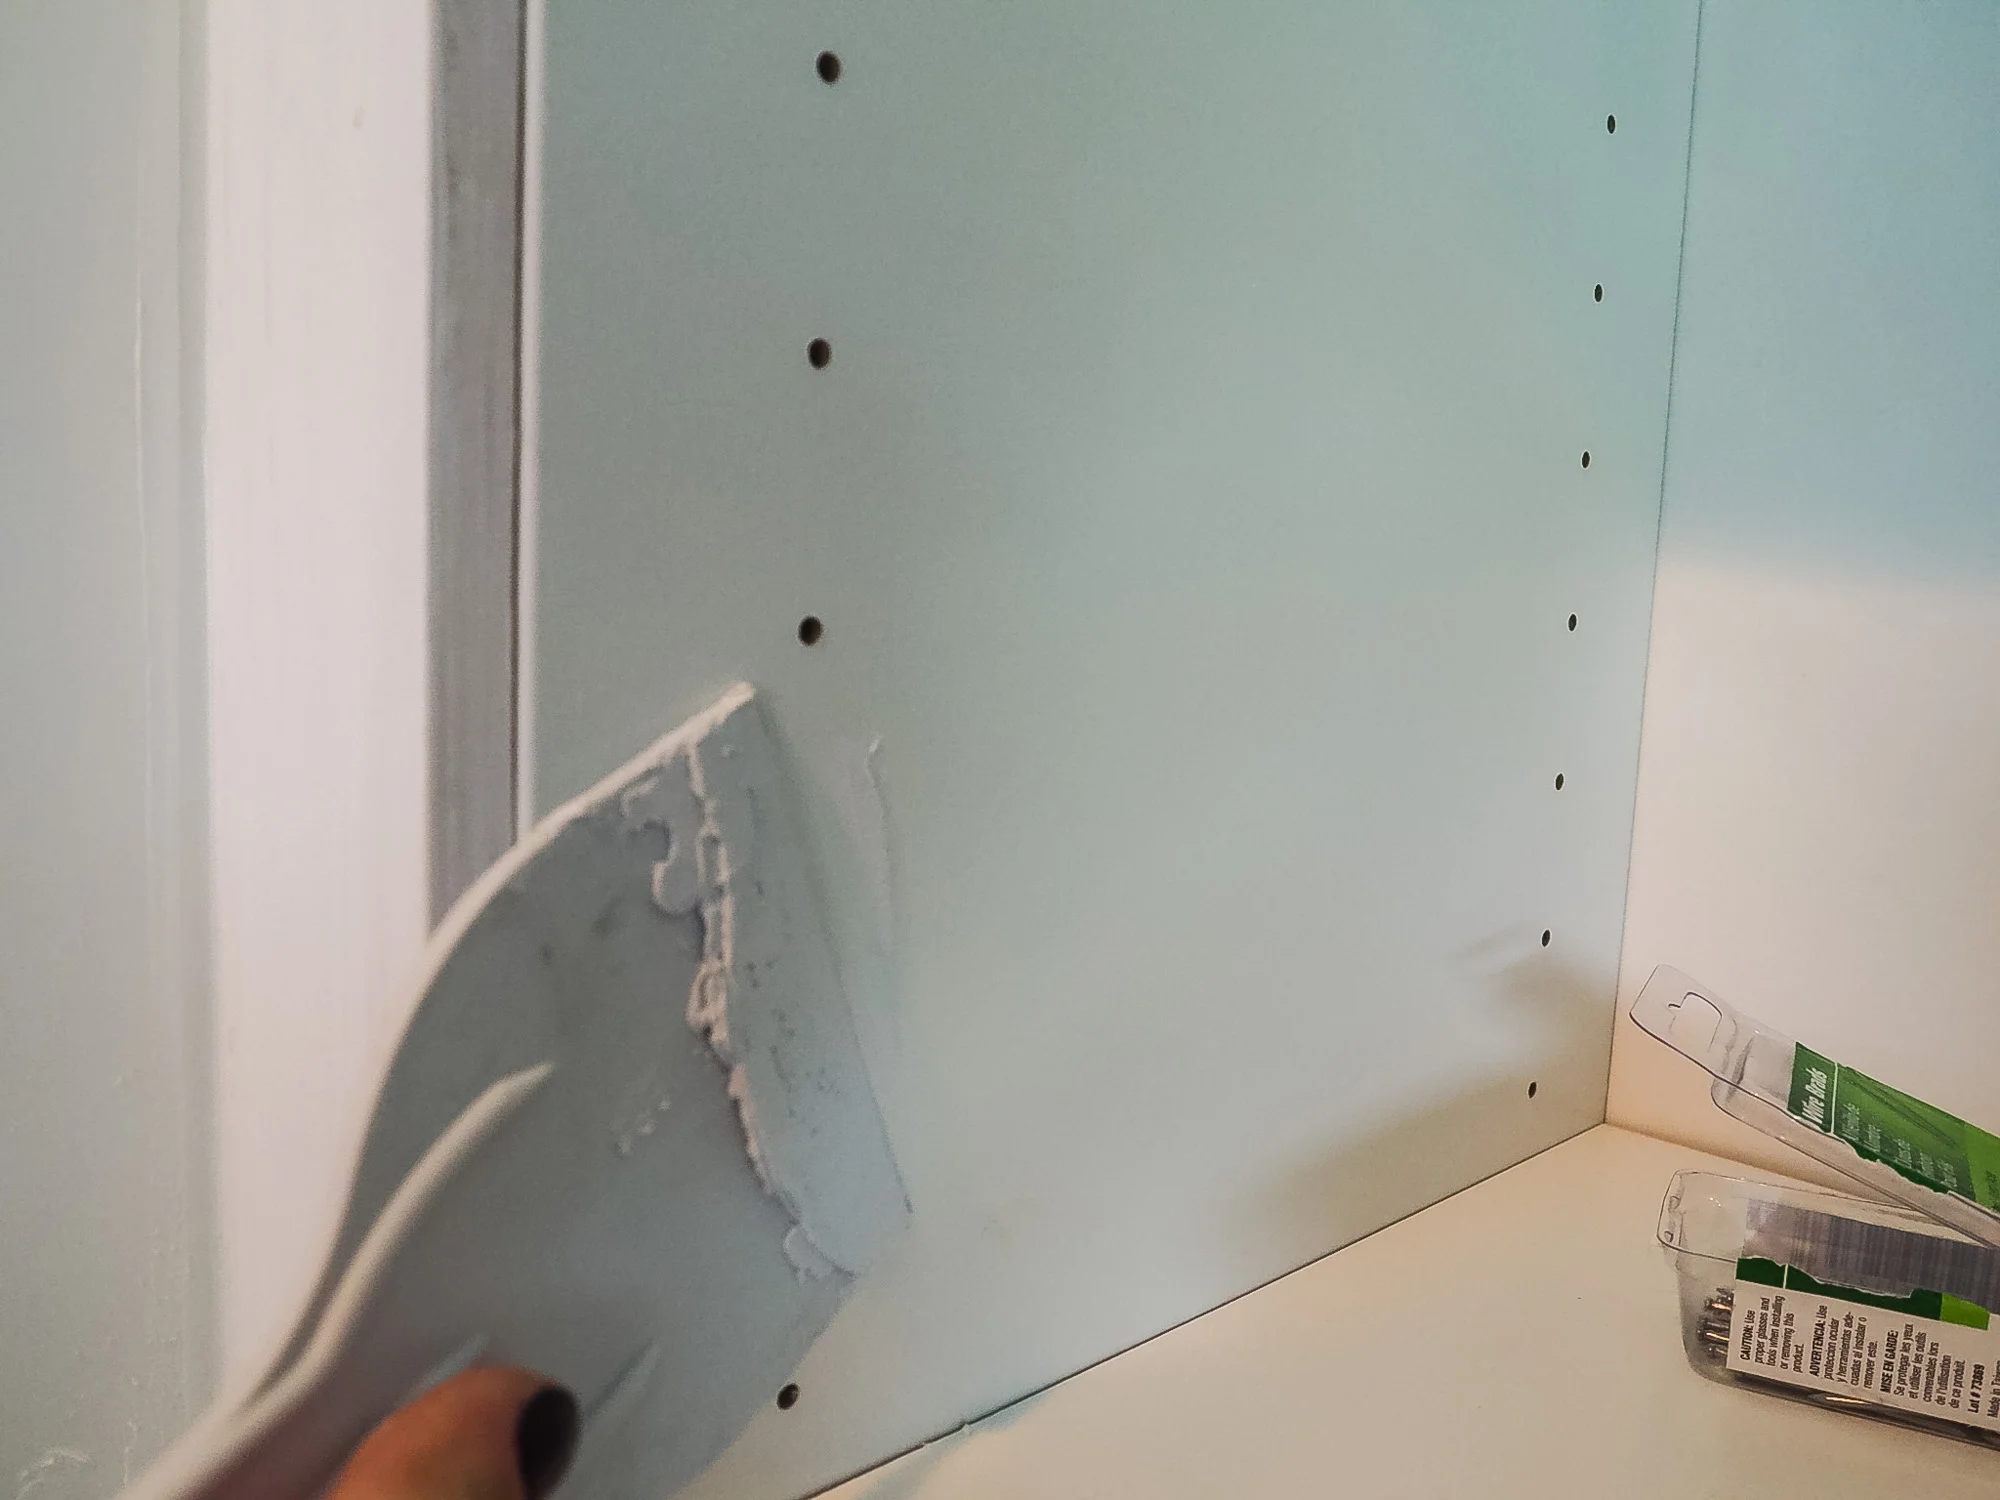
Next, I wiped down the whole unit with a clean terry cloth and primed it with - and this is important because IKEA stuff does not take paint and I don’t know of any other primer that’ll prep IKEA better for paint than this: Zinsser B-I-N Interior Multi-purpose Shellac-Based Primer.
Here’s an annoying thing about IKEA: their whites are all different. Since I bought pieces from a few of their different lines, they were all a different white. It wasn’t super obvious, but it was enough to bug me.
The Bergsbo doors are a creamy white, where the rest of the pieces were more stark white. I figured that I’d want to keep the doors as-is because they’re right on the front and also have the largest surface area that wouldn’t be covered with decor, so I wanted to paint the rest of the unit to match those doors.
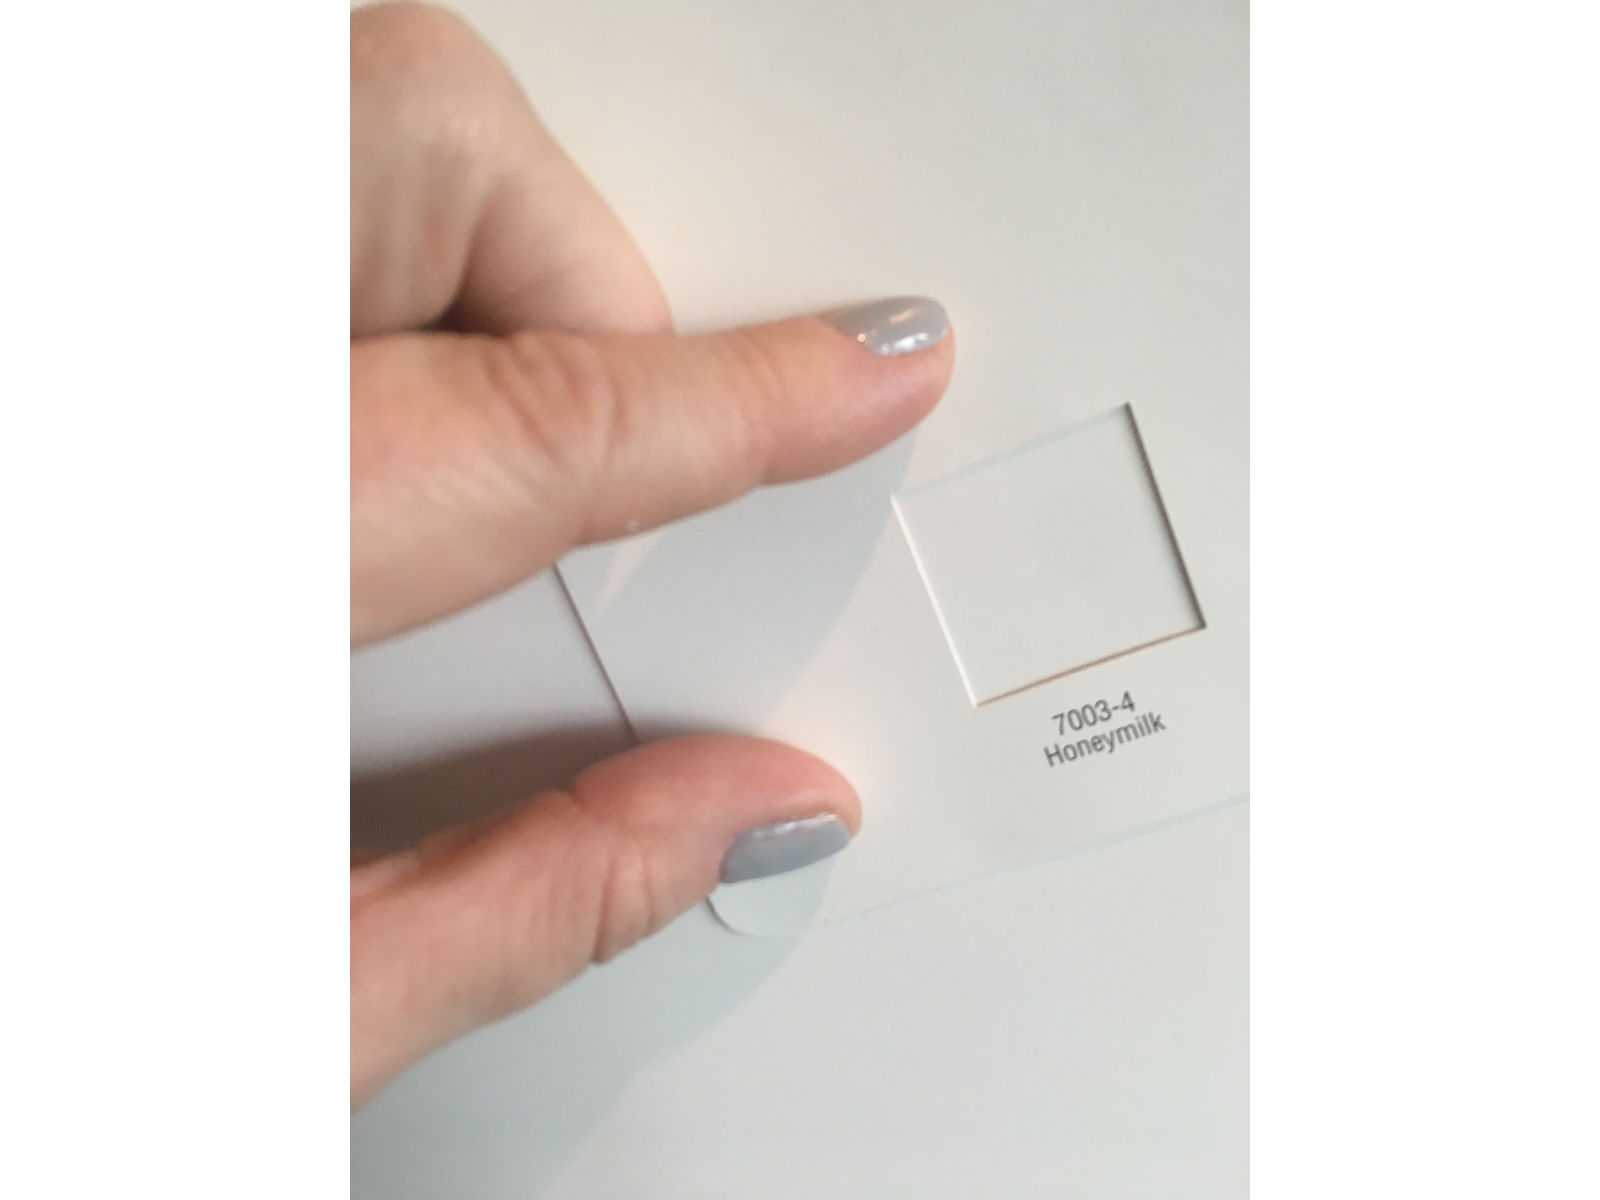
I didn’t have any luck finding a color match online for the Bergsbo doors. Lots of people online have asked the question, but hardly any good answers out there, so I went to Lowe’s and brought home a three-inch high stack of white paint chips.
The winner: Valspar Honeymilk is the perfect match, as far as color goes, but I needed to match the sheen. I used Valspar’s Signature paint and went with an eggshell finish, which is slightly more matte than the Bergsbo doors, but I planned to try and correct the sheen with a coat of matte polycrylic later.
Next I painted the entire unit twice, sanding with a 220 grit finishing pad and wiping clean in between coats.
The next day I painted on a coat of Minwax Polycrylic (satin finish, clear), and voila! The sheen is a perfect match and they look like custom built-ins, in my not-at-all-modest opinion.
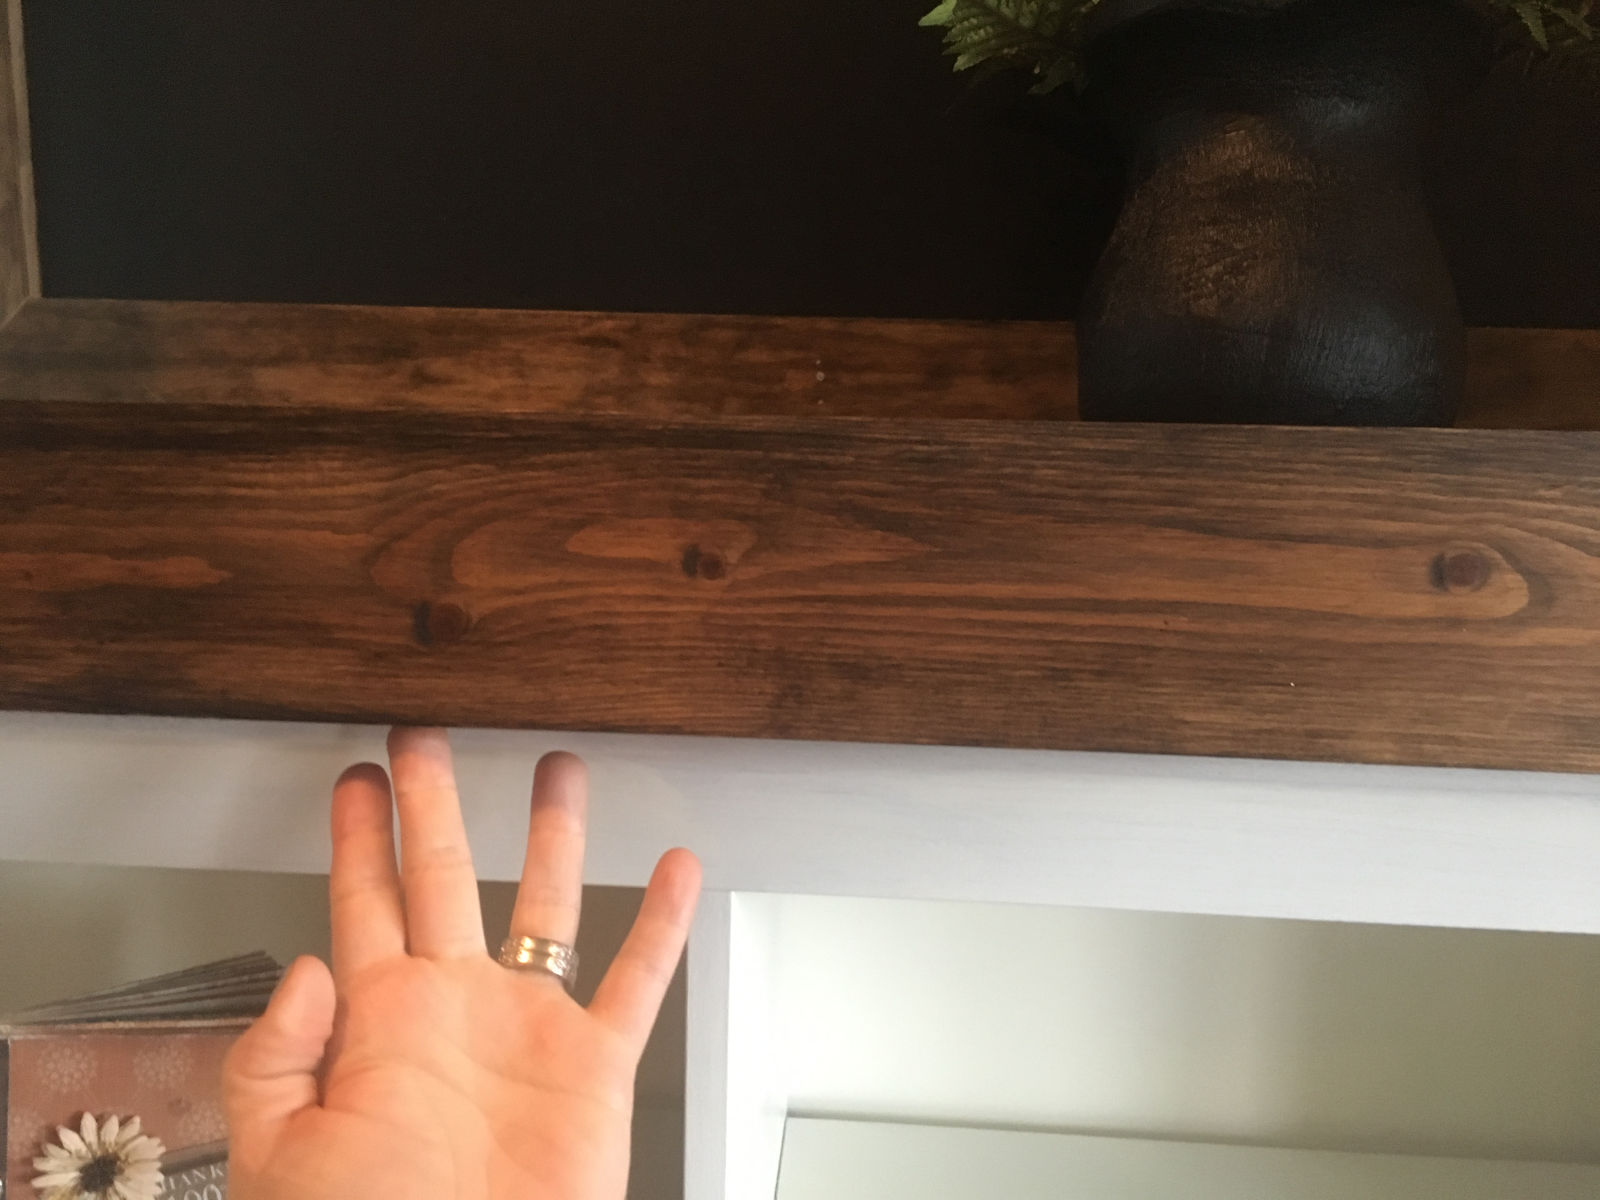
Lastly, I built the table top to lay over the top of the Brusali piece in the center. I bought project board from Lowe’s and after giving an overall sanding and wipe-down, I applied a coat of Rustoleum Wood Stain in Kona.
Then we stained a few of the spare pieces of the pine trim and used brackets to screw one to the front of the project board, making a little apron to cover the top piece of the Brusali.
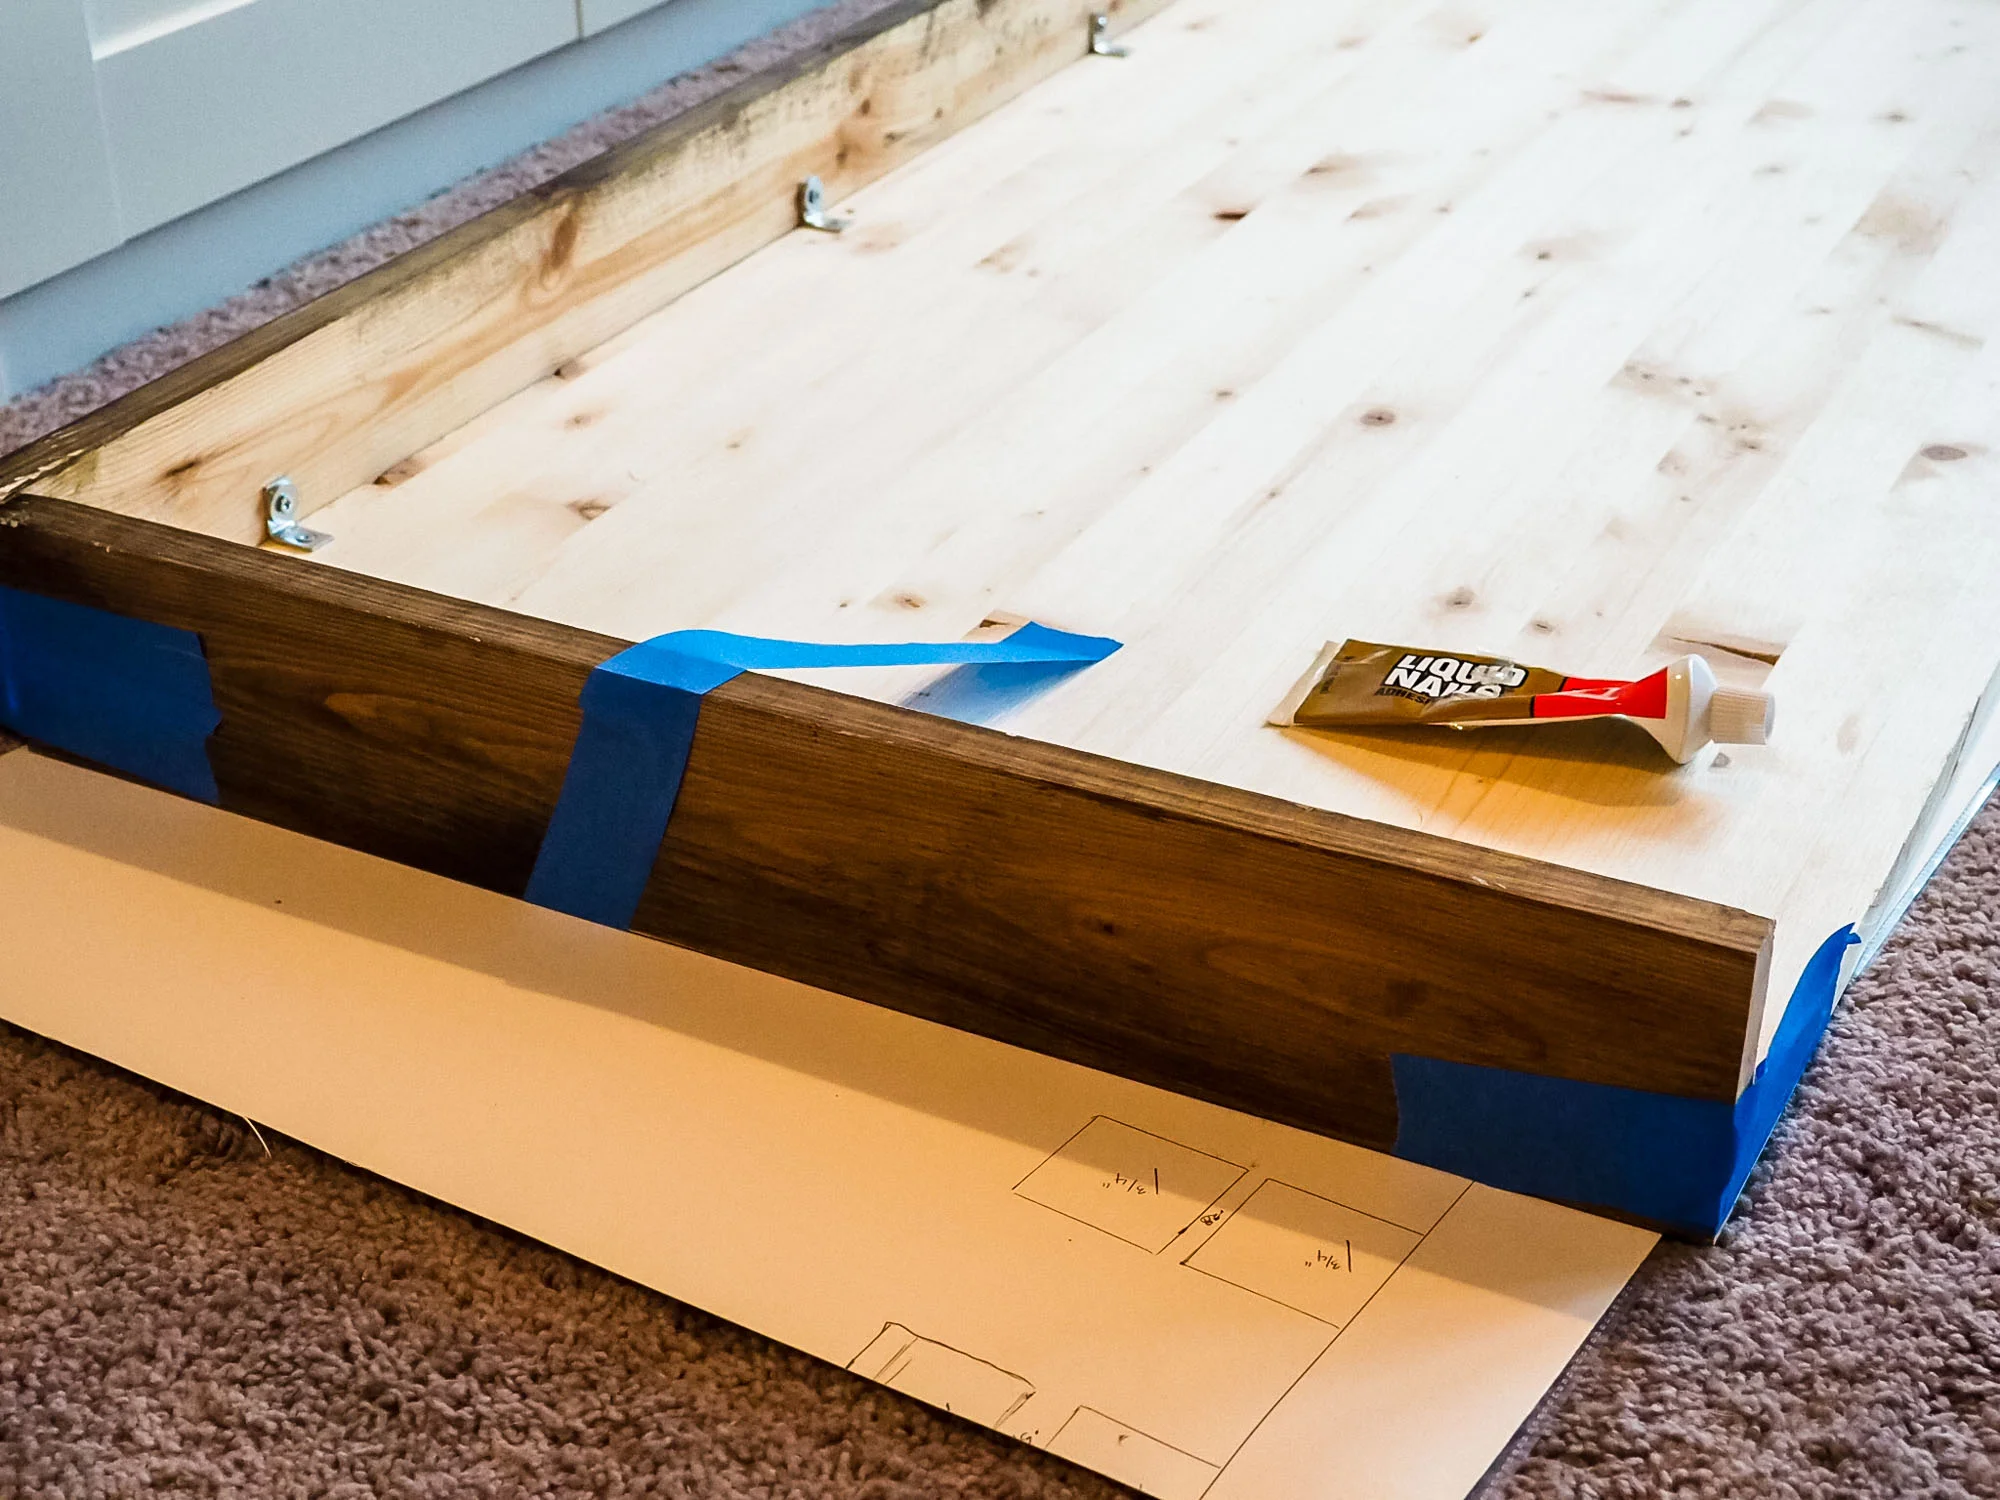
There was too big of a gap in between the edges of the table top and the PAX, and I wanted the table top to go right up to the edges, so I used Liquid Nails to attach side pieces.

Here it is before I set the table top over the Brusali unit
The final product again (are those angels signing in the background?)

Next plan is to organize the insides of these PAX monsters because opening them is currently a safety hazard.

Don’t you dare judge me!
Whatcha think?
Let me know in the comments!